Blog
Contact Us
Mobile: 008615515571373
Tel / Fax : 0086-371-63398802
Email :lisa@gelgoog.com
WhatsApp :008615515571373
ADDR:7th Floor,Building 8,Jingkai Square,No.1507, Hanghai East Road,Free Trade Zone,Zhengzhou,China.
Handmade Ice Cream Cone
Publish admin On 2016-01-16
Cones
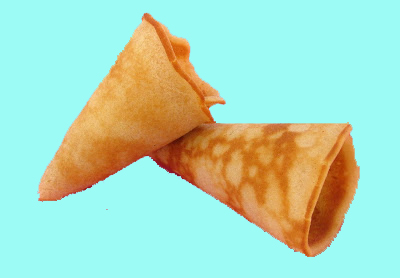
Roll cone tightly around your cone mold (make sure you have room to pinch the tip of the cone shut). Use a paper towel to handle your cone if it is too hot to touch. Make sure to press down the seam and pinch the tip of cone shut, so ice cream will not drip through. Place cone, open side down, on a cooling rack and let cool on cone mold until they have hardened and hold their shape, about 8-10 minutes. Repeat with remaining cones. Once cooled, gently remove cones from cone molds and repeat with remaining batter.
Bowls
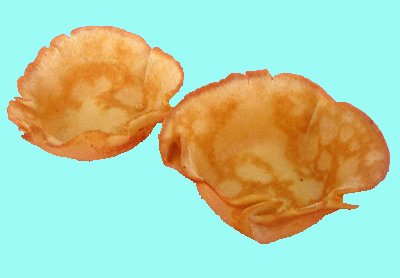
Flip over a cupcake/muffin pan and lightly grease the outsides of the cups (you can also use individual small custard bowls or drinking glasses flipped upside down). Place the center of the cone on top of the upside down cupcake well/bowl/glass and press the sides down to create an upside down bowl shape. Place a paper towel on top of the cone and use a rubber band to hold down sides of cone to hold it in it's bowl shape. Repeat with remaining cones and let cool on cupcake pan/bowl/glass until they have hardened and hold their shape, about 8-10 minutes. Once cooled, gently remove cones and repeat with remaining batter.
Cones/Bowls are best served fresh, but can be kept in an airtight container, with a piece of bread inside to absorb moisture so cone stay crisp, for about a week or two.